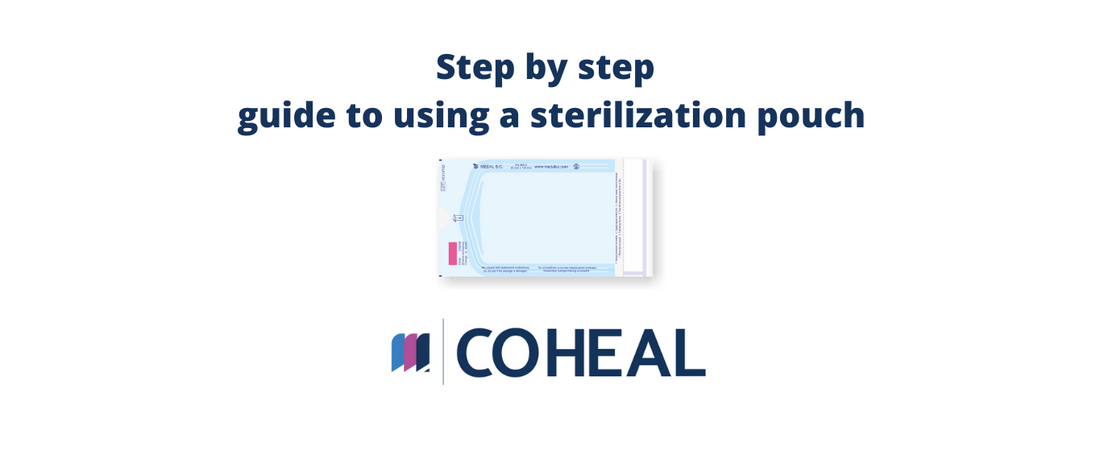
Step-by-Step Guide to Using a Sterilization Pouch:
Share
Here is a step-by-step guide to using a sterilization pouch:

1. Gather the necessary items to be sterilized, such as medical instruments, and place them inside the pouch.
2. Ensure that the items are spread out evenly and are not overlapping.
3. Refer to the manufacturer’s instructions to determine the correct orientation for the adhesive strip.
4. Seal the pouch securely by pressing the adhesive strip firmly against the pouch.
5. Place the pouch in a designated sterilization area or autoclave.
6. Set the autoclave to the correct temperature and time for sterilization, as specified by the manufacturer.
7. Once the cycle is complete, check that the indicator has changed color to indicate successful sterilization and allow the pouch to cool down before opening.
8. Carefully remove the items from the pouch and inspect them for any visible signs of contamination.
9. Discard the used pouch and repeat the process for the next round of sterilization.
The pouches are not reusable so it’s a must to use a new pouch for each round of sterilization to avoid contamination.
